

Supply list for: New IQ Designer / My Design Center for Destiny / Dream Machine
Supply List:
-
Embroidery Machine with Embroidery Unit and embroidery foot attached
-
9.5” x 9.5” hoop, you’ll be using that one.
-
Threads in three to four colors that match your border fabric
-
1 prewound machine embroidery bobbin should be enough
-
Thread for quilting. I just used white embroidery thread
-
IQ Scanning Frame with at least four green magnets
-
I highly recommend a mouse. I just bought a cheap corded mouse from Amazon at this LINK.
-
You’ll also want the two styluses (the corded one that plugs in as well as the small gray one) that came with your machine.
-
Marking tool like a water soluble pen or Frixion pen
-
80/12 Microtex needle or 90/14 embroidery needle
-
Tweezers
Fabric requirements:
-
Cut (1) center fabric 8.5” x 8.5” (Tone on tone or solid color)
-
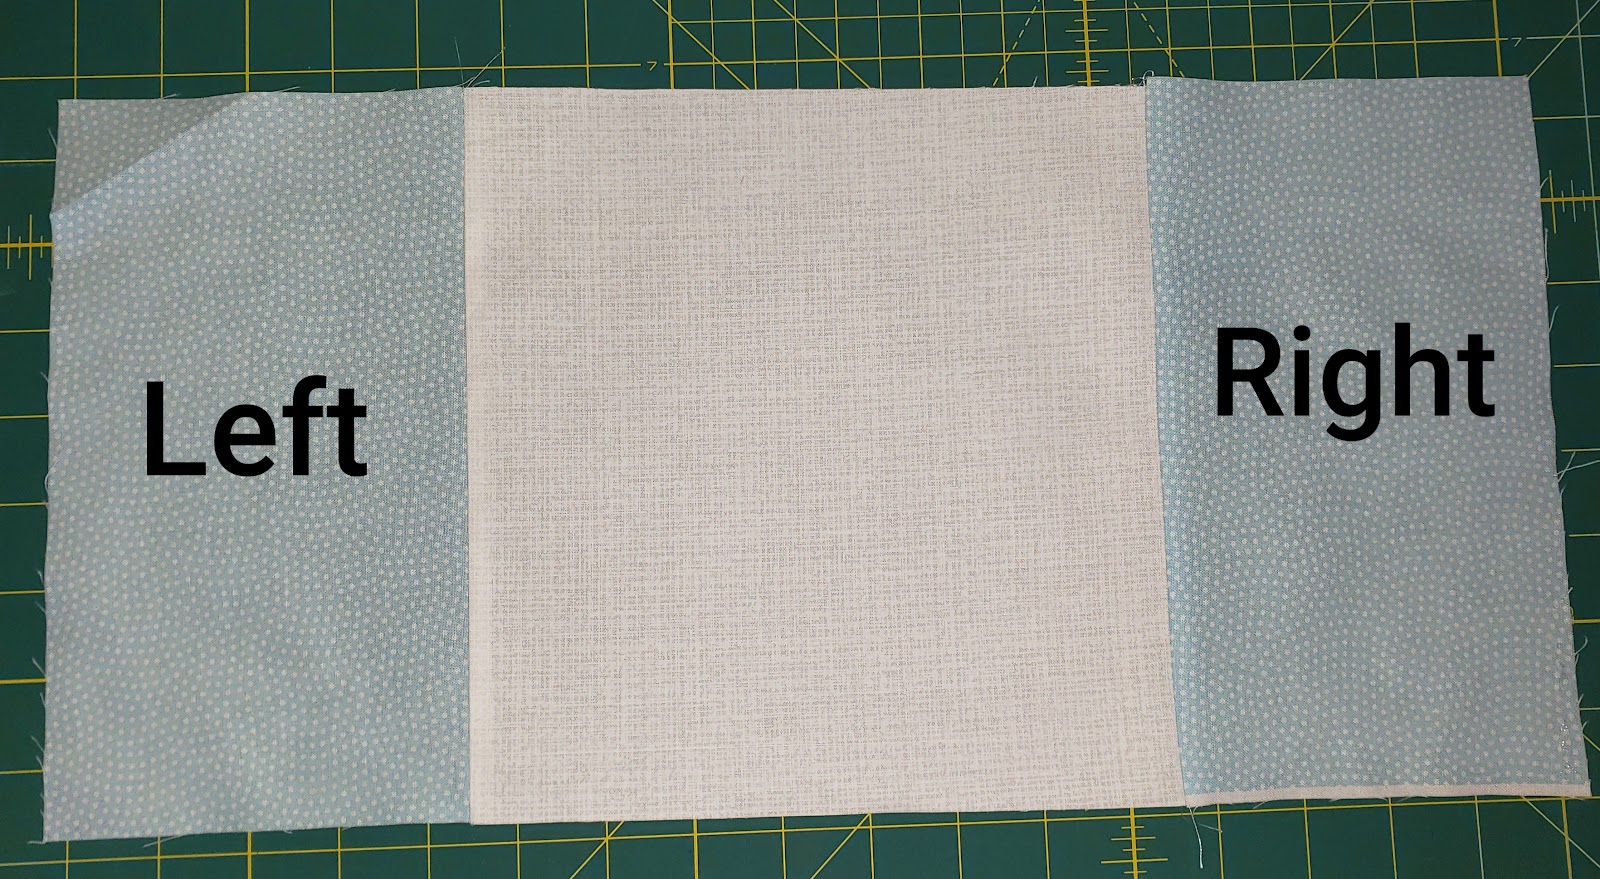
Cut (2) 5” x 8.5” sashing pieces for left and right side
-
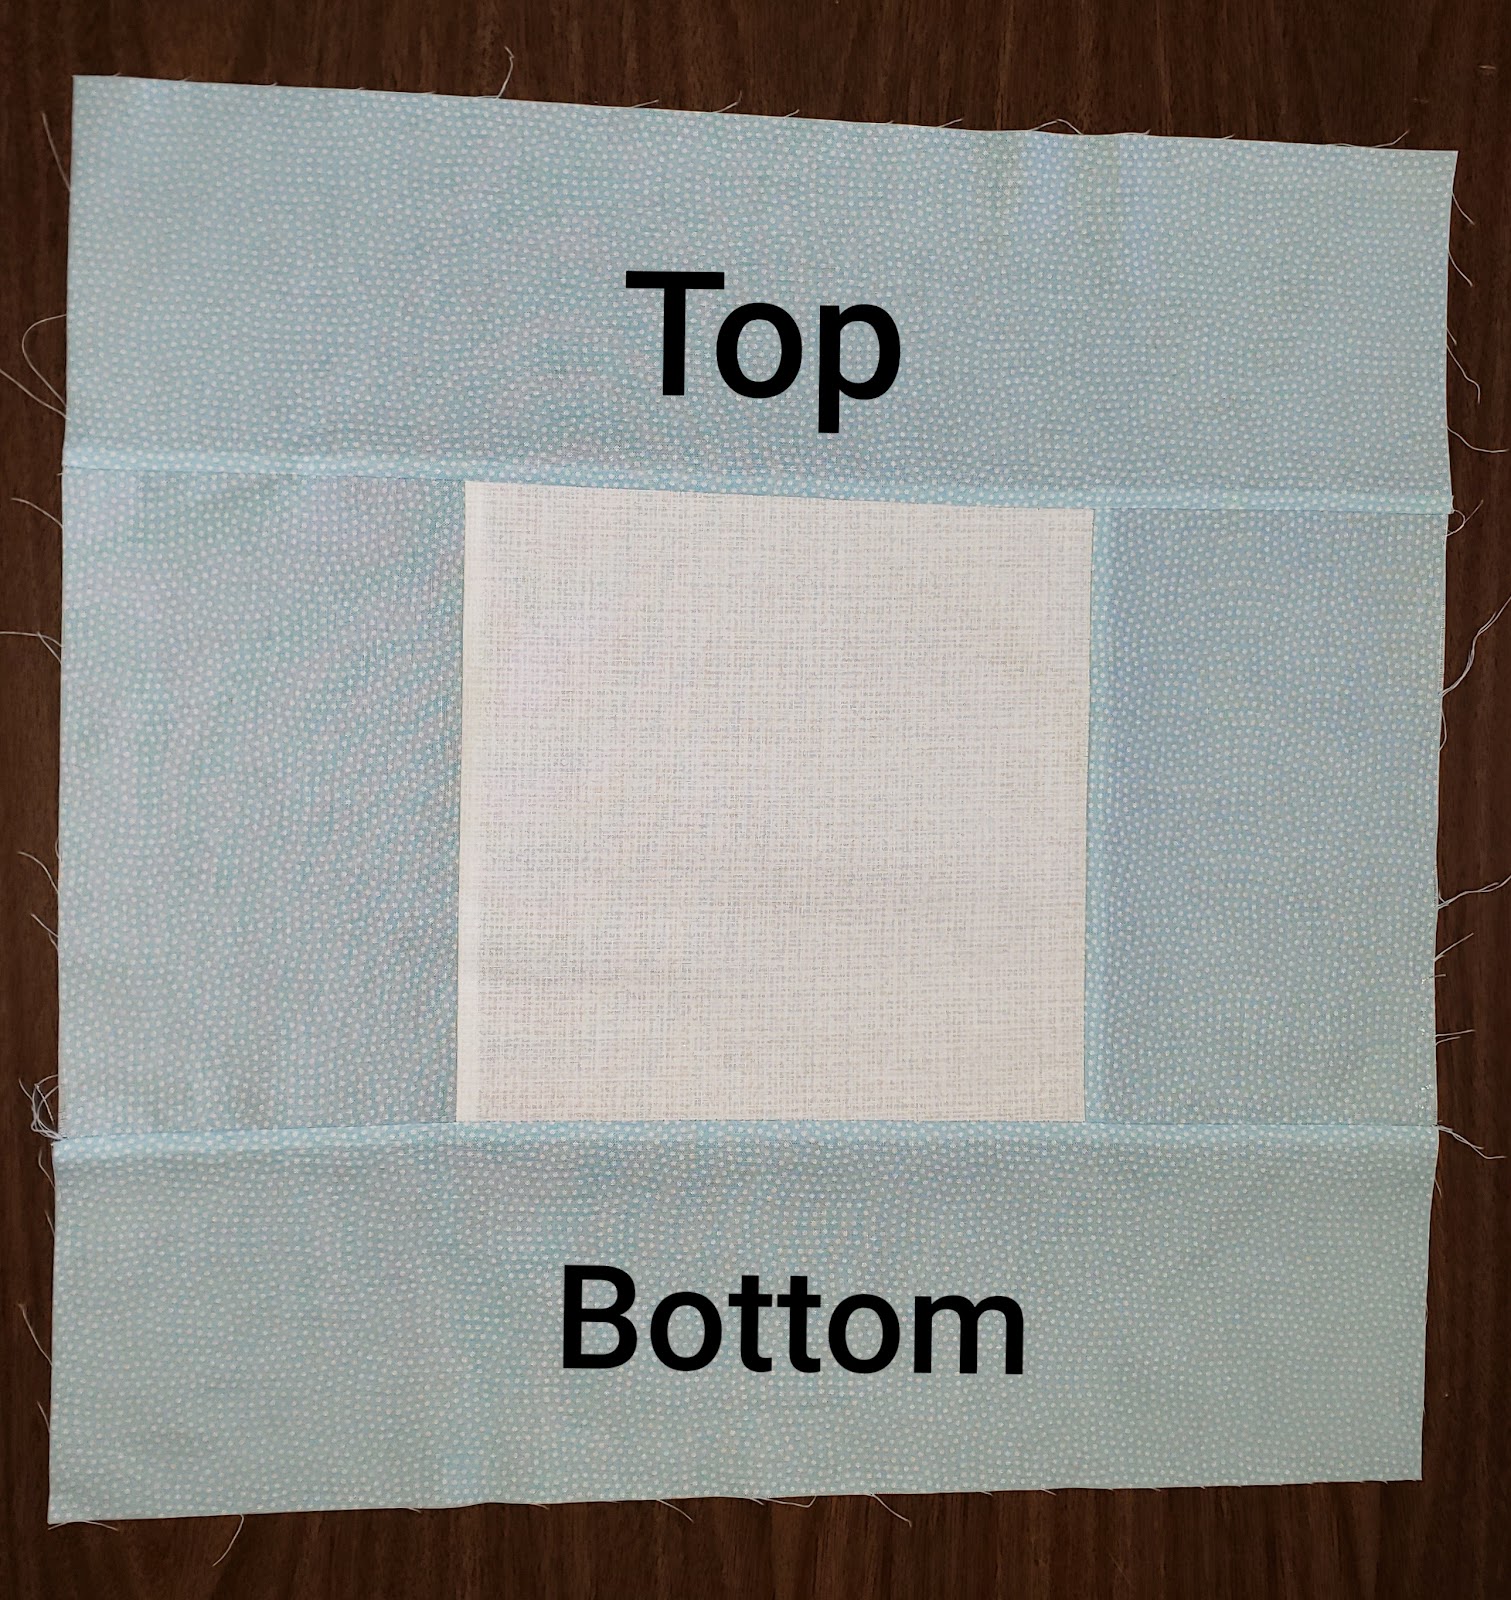
Cut (2) 5” x 17.5” sashing pieces for top and bottom
-
Cut (1) 22” x 22” batting
-
Cut (1) 22” x 22” backing piece in any color or print
Step 1: Gather your materials to create a quilt sandwich. Have this sewn and prepared before class. With a ¼” seam, sew your right side sashing piece to the center and then sew your left side sashing piece to the center. Then press. Next sew on your top and bottom sashing pieces. Press. Mark the center of your piece. Layer with your batting and backing. Lightly spray baste if you wish. Do not pin.
Please reference photos
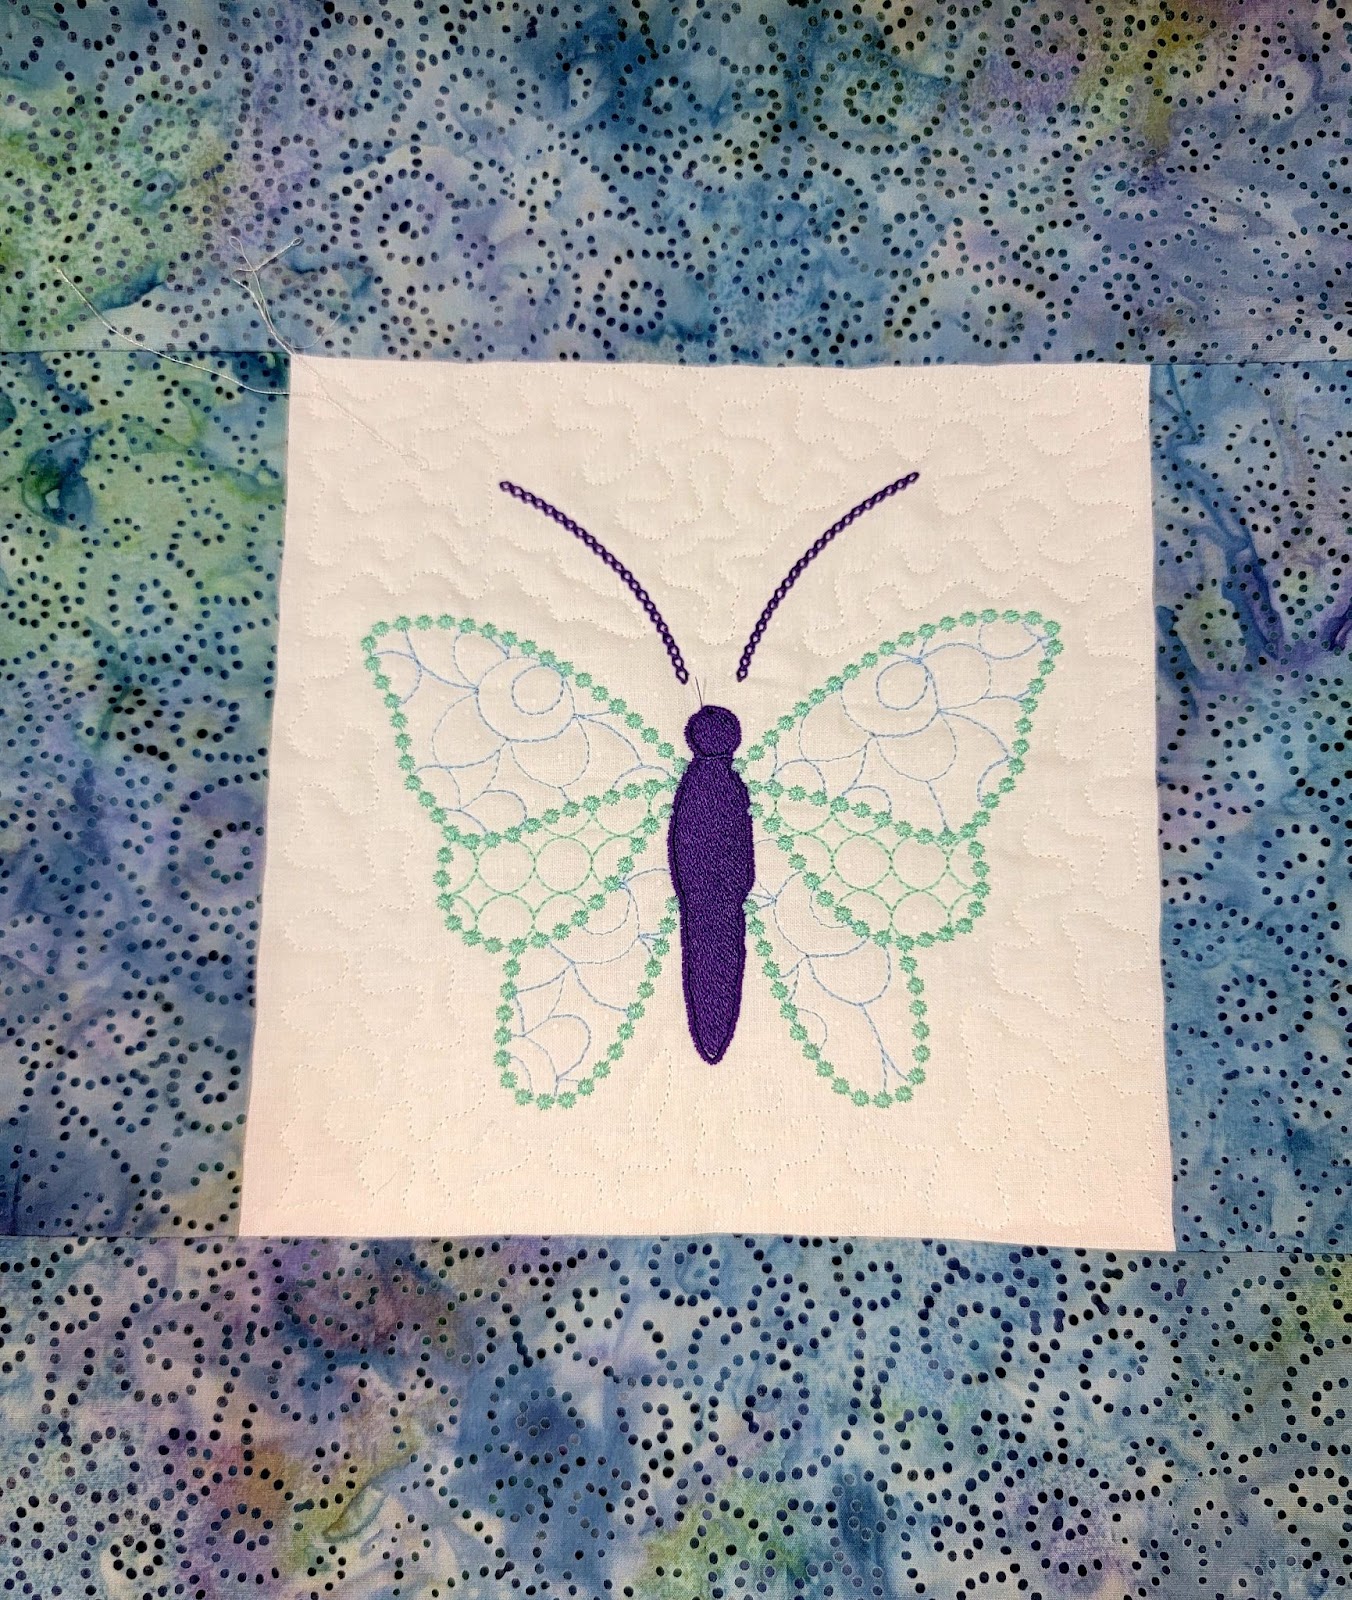
Step 2: Print out the Butterfly PDF on Step regular copy paper. The image is attached to your invitation to the class. We will be scanning this image. Please ALSO copy the butterfly image file to a USB. I will show you how to also bring it in via USB and completely forgo the Scanning mat.

Step 3: Set your machine for embroidery with bobbin preloaded and embroidery foot attached. Have your stylus available and/or your computer mouse attached to your sewing machine. Have your quilt sandwich and your embroidery hoop ready to go.
Step 4. Be sure to have Zoom downloaded and ready if this is a Zoom class. This video may be posted to a private Facebook Page later for you to reference.