PRE RECORDED VERSION Single Needle Embroidery Machine: Lucky St Patty’s Day 3D Embossed Puff Eleganza!!
PRE RECORDED VERSION Single Needle Embroidery Machine: Lucky St Patty’s Day 3D Embossed Puff Eleganza!!
Couldn't load pickup availability
Share
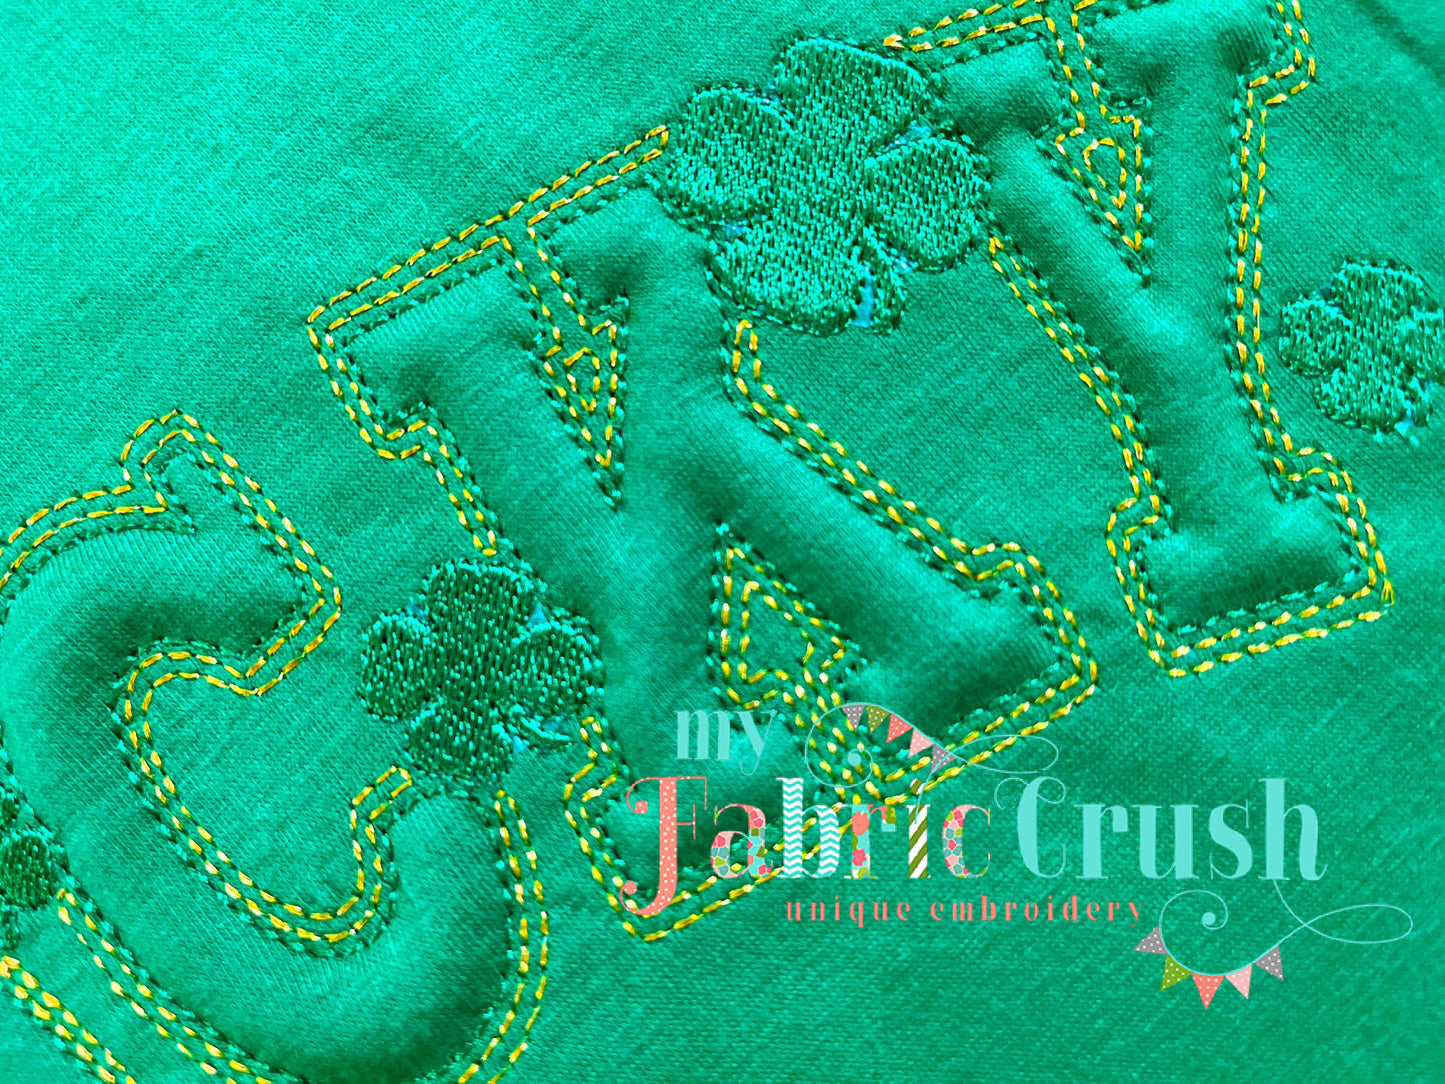
Lucky St Patty’s Day 3D Embossed Puff Eleganza!!
I’ve been seeing this reverse 3D puff embroidery around a lot lately. It’s a fun technique. It’s a quick stitch since it’s just a running stitch save for the shamrocks. I’ll be offering just 1 session in either multi-needle OR single needle formats. There will also be a prerecorded class in both formats. This listing is for the SINGLE NEEDLE EMBROIDERY MACHINE. You must be able to stitch a 12X8" hoop size
You should have experience on your embroidery machine. If you have other than a Brother or Babylock machine you will need to know how to use it.
Best results are achieved with a fabric that has stretch.
We are not offering T-shirts or sweatshirts this time given the short ship time BUT we did put a kit together with the two thread colors I used and an 11” X 5” piece of Pellon Flex Foam. CLICK HERE
You can purchase the design directly from my Etsy shop: CLICK HERE
The prerecorded class will be available AFTER FEB 24th.
Here is my supply list with my favorite tools:
Supply List:
-
T-Shirt. I got mine here:
Whatever you choose must be a knit!.
-
8X12” hoop. I do not recommend using a larger hoop. You will be floating the t-shirt over the foam. It could get tight trying to roll on a single needle.
-
Fusible No Show Mesh stabilizer.
-
Water soluble topper.
-
Kingstar MG3 Gold metallic
-
Isacord 5613 matches the shirt I got from Amazon
-
Prewound Bobbin
-
Pellon FF77
For a ladies shirt I don't recommend Puffy Foam. It's a little too firm and affects the drape on a ladies shirt. If you are doing a kids shirt or a men's shirt embroidery puffy foam will work as a substitute.
-
Spray Baste
-
Snips, Tweezers and Scissors to trim the stabilizer when finished.
These are my favorite scissors for trimming the stabilizer from the finished garment. They keep me from making an oooopsy cut in my fabric: CLICK HERE